
Starter
3credits
$7.99
$2.66 each
3 downloads of any size. Good for a one-off project.
Convert a STEP or STP (.step, .stp) CAD model to STL (.stl) for 3D printing, slicing and rapid prototyping. The converter tessellates CAD surfaces into triangles; always verify units, watertightness, facet density and thin features before printing.
Choose one STEP file. This page is already configured to create STL output.
Drag and drop your STEP CAD file here
or choose a file from your computer
Browse filesMaximum file size: 300 MB
Files under 5 MB convert and download free. Larger files use one credit for one completed download, regardless of file size.
Pricing
Files under 5 MB convert and download free. Larger files use one credit for one completed download, regardless of file size. 1 credit downloads any file, any size, and credits never expire.
Starter
3credits
$7.99
$2.66 each
3 downloads of any size. Good for a one-off project.
Pro
5credits
$12.99
$2.60 each
5 downloads of any size. The everyday choice.
Team
10credits
$19.99
$2.00 each
10 downloads of any size. Best balance of price and volume.
Studio
15credits
$26.99
$1.80 each
15 downloads of any size. Lowest price per file.
Start the STEP-to-STL workflow in your browser without installing a CAD application or conversion plugin.
Create an STL for slicing and mesh workflows while keeping the original STEP as the editable engineering source.
Open the STL in a viewer or slicer to check scale, watertightness, triangle quality, surface smoothness and printability.
Open STL viewerConversion files stay private, are not added to the public CAD library and are automatically deleted within 7 days.
Continue your workflow
Inspect the STEP source, validate the generated mesh in the STL viewer and request design support when geometry needs repair before printing.
Simple conversion workflow
Move from a STEP solid or surface model to a tessellated STL mesh in three steps.
Choose a .step or .stp file up to 300 MB. Ensure the source bodies are complete and correctly scaled.
The route is preconfigured for STL output. Start the conversion without searching through a destination-format menu.
Open the .stl in the target slicer. Confirm the intended unit, dimensions, watertightness, orientation and mesh detail before generating toolpaths.
Format behaviour
STEP stores CAD curves, surfaces, solids and product structure. STL stores only a triangular surface mesh. Conversion tessellates the STEP faces according to the engine's mesh settings. Curved surfaces become triangles, while assemblies, colors, names, materials, feature history and exact analytic geometry are not carried into standard STL.
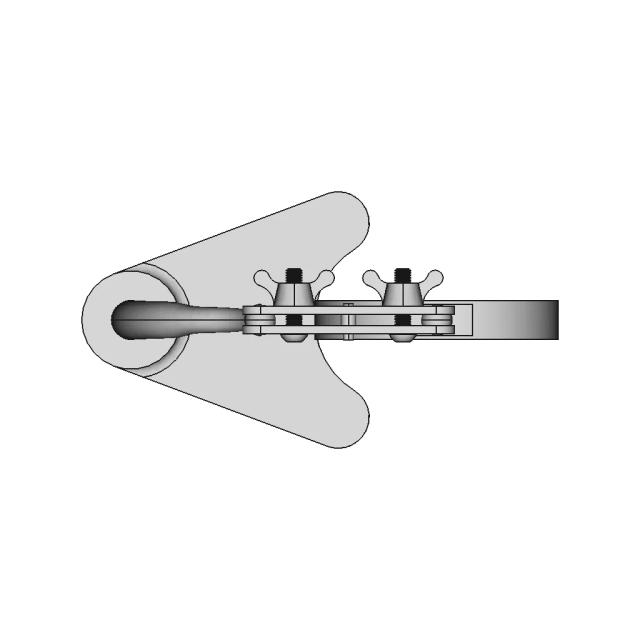
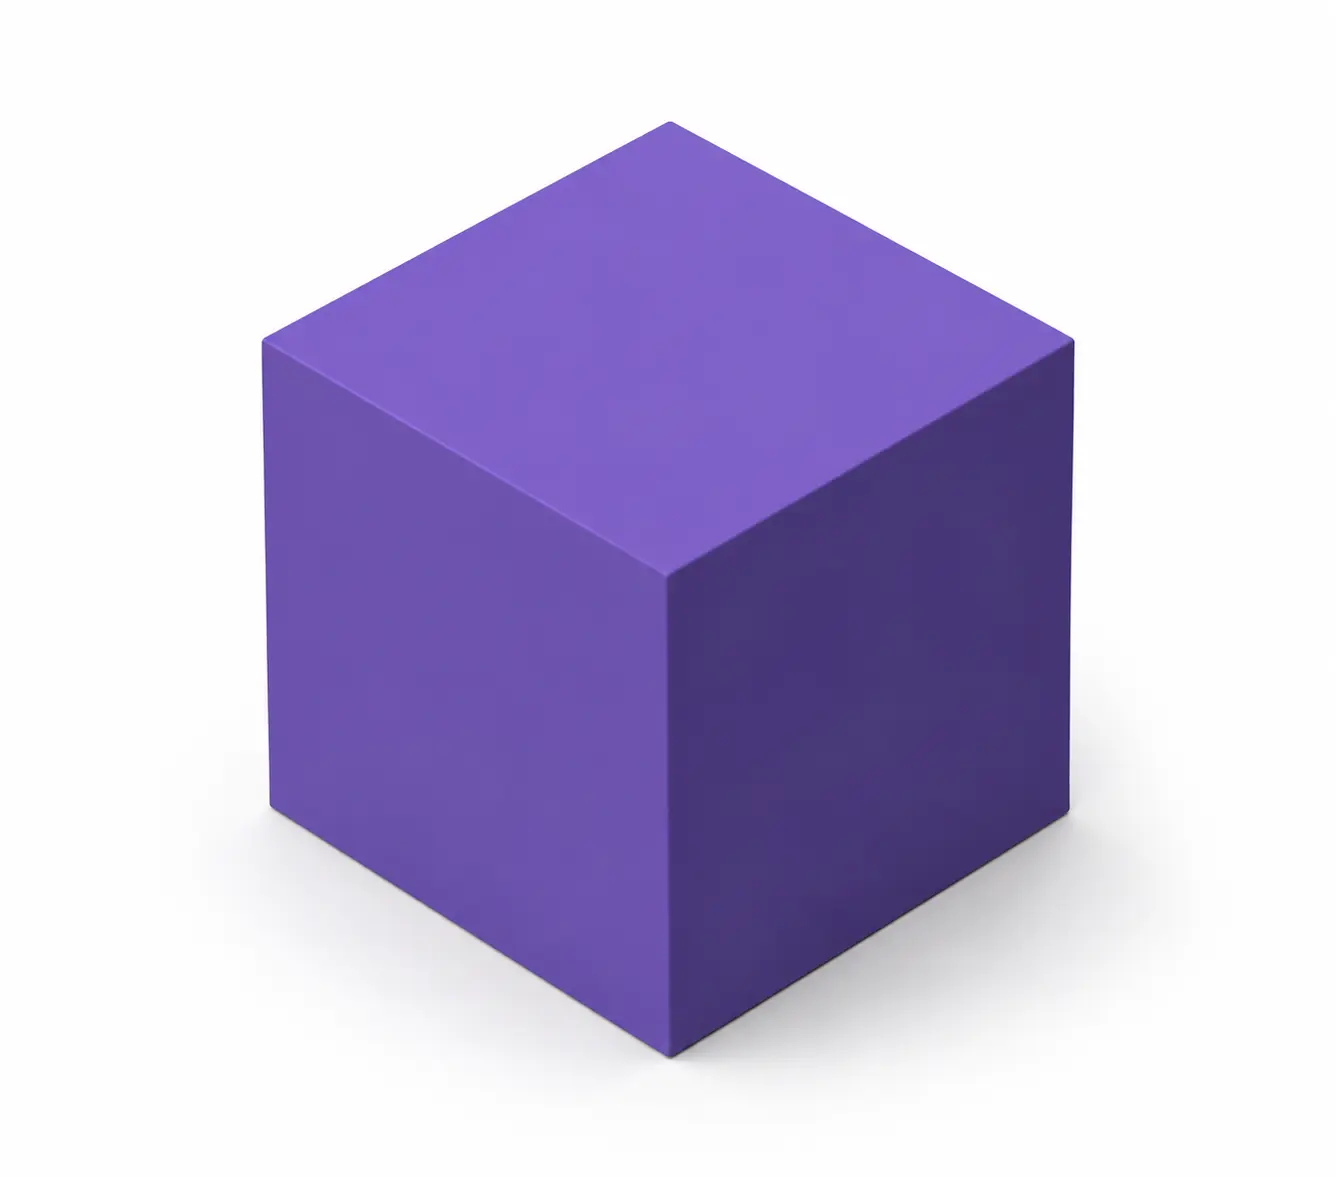 STEP modelSTEP
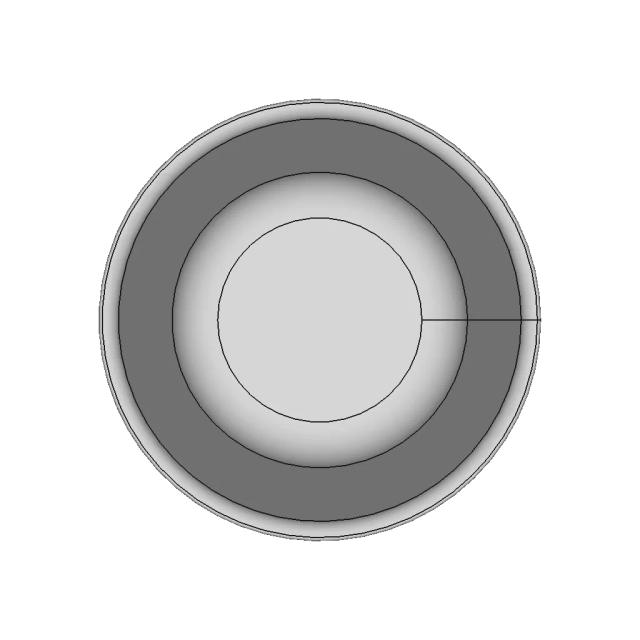
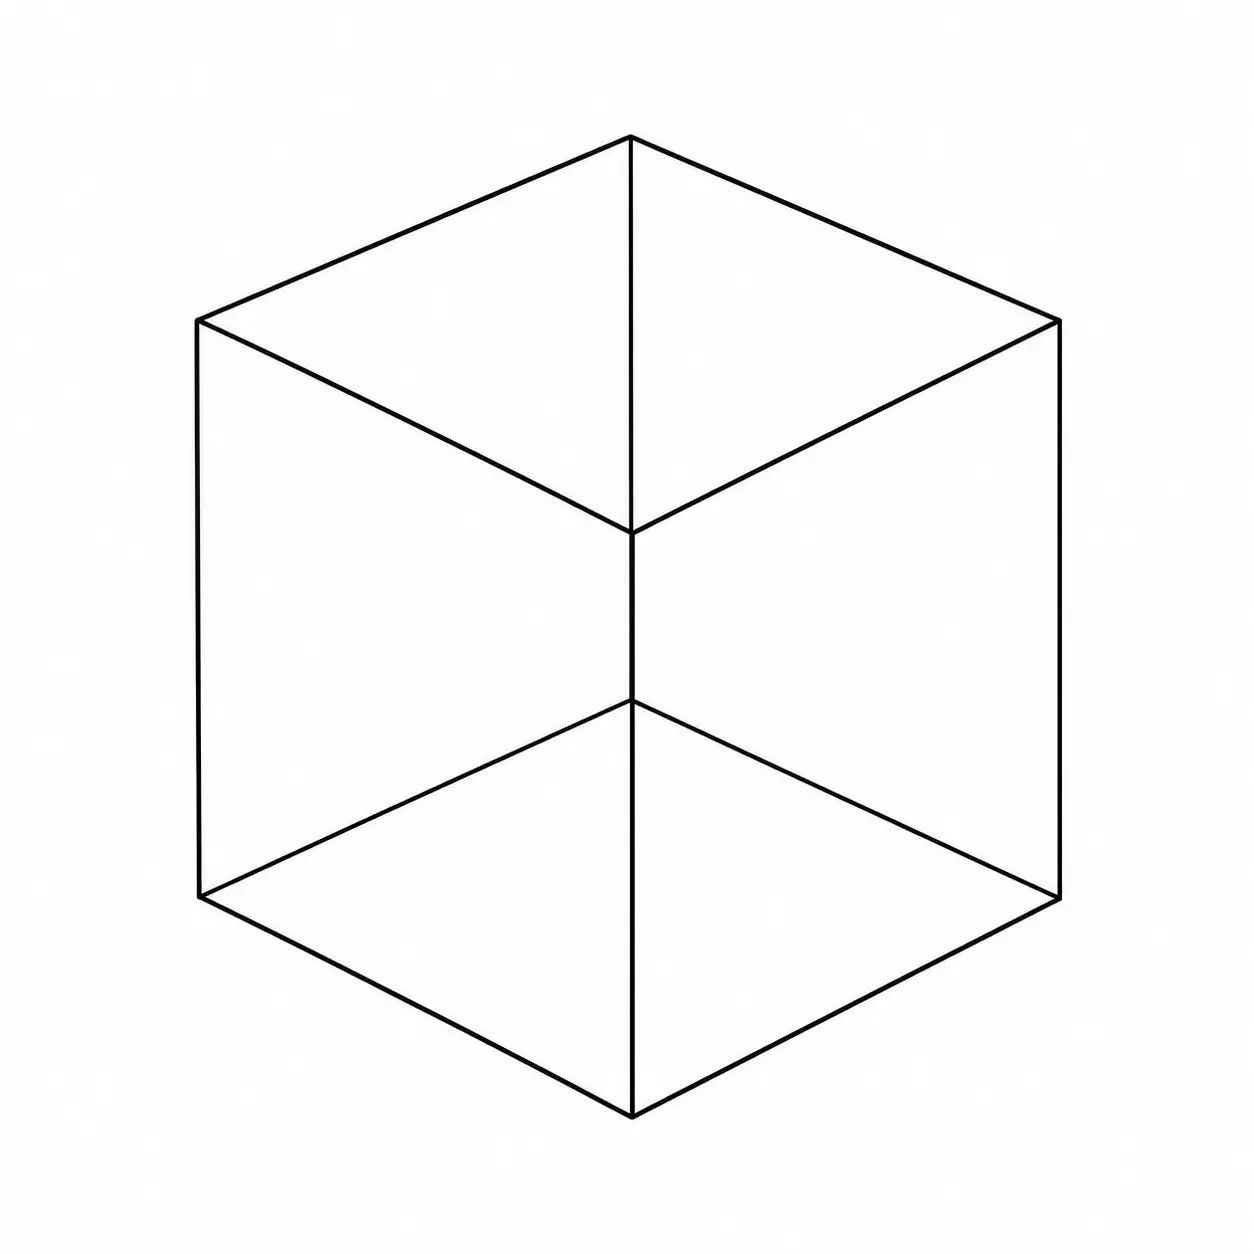 STL meshSTL
Format comparison
Choose the format according to what the next application needs—not because one is universally better.
| Feature | STEP STEP | STL STL |
|---|---|---|
| Primary use | CAD exchange, manufacturing and engineering revision | 3D printing, slicing and mesh processing |
| Geometry | Exact B-rep curves, surfaces and solids | Triangular approximation of the surface |
| Editability | Can support CAD operations; native feature history still depends on source | Mesh editing with no parametric features |
| Units | Supports explicit units | Standard STL does not store a unit |
| Structure and metadata | Can contain assemblies, names, colors and product data | Normally only triangle geometry and normals |
The next step is slicing or 3D printing
A mesh-based simulation or visualization tool requires STL
You have checked that the tessellation captures critical detail
You will keep the STEP as the engineering source
The design will be modified or manufactured from exact CAD geometry
Assemblies, names, colors or metadata matter
The receiving workflow accepts STEP directly
You need smooth analytic surfaces rather than a triangle approximation
Before continuing
The STL must represent the shape at the correct scale and with enough mesh quality for the chosen manufacturing process.
STL has no standard unit field. Measure a known feature in the slicer and assign millimetres, inches or the intended unit.
Zoom into arcs, holes and fillets to confirm that triangles are fine enough for the required finish.
Look for open boundaries, inverted faces, self-intersections and non-manifold edges.
Confirm that tessellation retained features near the printer's minimum wall and detail limits.
Check whether multiple STEP components were exported as the required separate shells or one combined mesh.
Generate a preview and inspect layer paths, supports, orientation and estimated print behaviour.
Common problems
Most problems come from unit ambiguity, inappropriate tessellation, invalid source faces or features too small for the mesh and printing process.
Cause: The tessellation is too coarse for the model size or required finish.
Fix: Use an export with a tighter chord tolerance, or rebuild the STL from CAD with controlled mesh settings.Cause: The mesh is finer than the workflow needs.
Fix: Reduce triangle density while preserving dimensional and curved-surface accuracy.Cause: The slicer guessed a different unit because STL does not store one.
Fix: Select the intended unit or apply the correct scale before slicing.Cause: Source surfaces did not form a clean closed solid or tessellation created invalid boundaries.
Fix: Repair the STEP body or heal the STL mesh before printing.Cause: Assembly components or hidden bodies were exported differently than expected.
Fix: Compare body count with the STEP source and export required parts separately.Cause: Features are below the tessellation or manufacturing resolution.
Fix: Use a finer export or redesign features for the target process.Secure processing
Engineering files can contain confidential product geometry and documentation. Marathon OS keeps conversion uploads separate from its public CAD library and explains how each file is handled.
Files are transferred over an encrypted connection.
Uploaded source files and converted outputs are automatically deleted within 7 days.
Uploading or converting a file does not transfer ownership of the design to Marathon OS.
Conversion files are not listed in the public Marathon OS CAD library.
Explore a small set of adjacent engineering, mesh and drawing handoffs.
Legacy surfaces to modern CAD exchange
Mesh to CAD exchange
Mesh handoff for slicing
Rhino to CAD/CAM exchange
Drawing exchange
Marathon OS Design Hub
Search the Marathon OS library for a usable starting model. Review dimensions, licensing and manufacturing suitability before using a downloaded file.


Frequently asked questions
Clear answers about output behaviour, compatibility, pricing, file limits and privacy.
Upload the STEP file (.step, .stp), confirm STL as the preselected output, start the conversion and download the STL result (.stl). Verify it in the application used for the next workflow.
Convert STEP to STL when the next workflow requires a triangle mesh—most commonly slicing and 3D printing—while retaining STEP as the editable source of truth.
Accuracy depends on the tessellation used to approximate STEP surfaces with triangles. Inspect curved faces, dimensions and small features; for tolerance-critical work, use a controlled CAD export and record the mesh settings.
This route accepts .step, .stp input and creates .stl output.
Files under 5 MB can be converted and downloaded free. Larger files use one credit for one completed download.
You can upload a STEP file up to 300 MB. Complex CAD and fine tessellation can create very large triangle counts and slower slicer performance.
Files are transferred securely, are not published to the public CAD library and are automatically deleted within 7 days. You retain ownership of the uploaded design.